By Orias AI
AI Packaging Design Generator: How to Create Product Labels, Boxes and Dielines
AI packaging design generators speed visual concepts for labels and boxes, but dielines, prepress, barcodes, and label review still govern production.
An AI packaging design generator is best used to create and compare visual directions for a product label, carton, pouch, or box—not to replace the production work that makes a package printable and compliant. Tools such as Adobe Firefly offer text-to-image, generative fill, generative expand, and text-to-vector features, giving teams ways to explore imagery and editable vector concepts before a designer rebuilds the selected direction for production.
The handoff should be defined around a concept asset, not finished artwork: a generated package image is not a press-ready file. Packaging prepress involves file checks, color management, structural verification, compliance review, proofing, and output preparation, as Esko’s prepress overview describes.
What an AI Packaging Design Generator Can—and Cannot—Create
The useful output is range. A creative team can prompt for different visual territories—such as a restrained botanical treatment, a high-contrast typographic look, or an illustrated family of ingredients—then use generated images or vector concepts to decide what the pack should feel like. Generative fill and expand can also help test how an approved direction might extend across a wider label or a carton panel.
This stage is valuable when the decision is visual: composition, image language, color mood, motif, or the relationship between a hero image and a brand field. It is less useful for decisions that must be exact. AI output does not establish where a box folds, what becomes hidden in a glue area, whether small type remains legible after printing, or whether required label information is complete.
A practical division of labor is straightforward. The creative or marketing team defines the audience, product story, brand assets, mandatory copy, and pack format. A designer uses AI to develop directions and then rebuilds the chosen route in the supplied artwork template. Packaging, prepress, regulatory, and print partners review the parts within their remit before release.
Do not confuse an attractive rendered mockup with a production file. A mockup can show a likely appearance; it cannot by itself verify the package structure, print conditions, or regulated information.
Start With the Pack Format and Dieline, Not the Image Prompt
Before writing a prompt, identify the physical format: a pressure-sensitive label, a flexible pouch, a folding carton, or another specified pack. The format determines the usable surfaces and the structural problems the artwork must solve. A label may present one continuous wraparound field; a carton has distinct panels whose relationships change when it is folded.
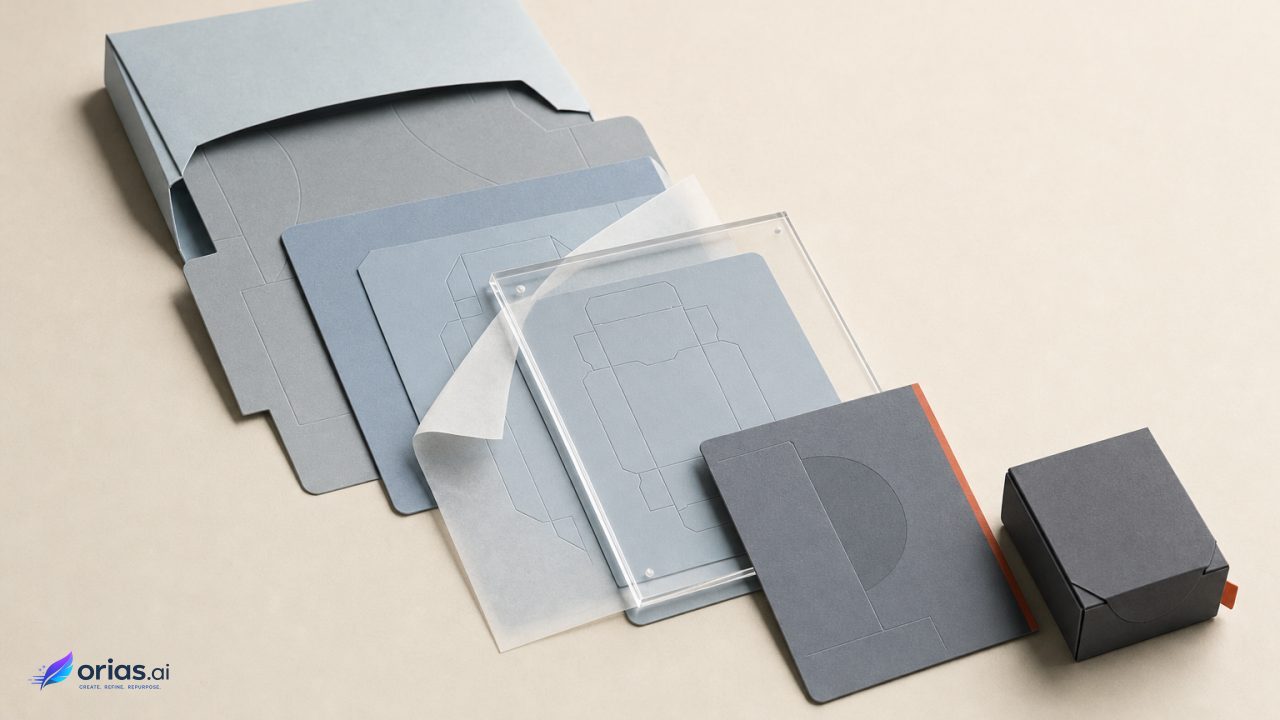
The dieline is the structural map. It defines cut, fold, and glue relationships, and the artwork must align precisely with those relationships. Esko Studio Designer documentation describes structural packaging software that can generate or validate 2D and 3D structures and previews.
This changes the creative brief. Instead of asking only for “a premium tea box,” specify the visible front panel, side-panel role, logo area, product name, image zone, and any surface that must remain clear for required information. The prompt can still create a useful visual idea, but the dieline tells the team where that idea can survive as packaging.
Avoid designing from a guessed rectangle and trying to force it onto the package later. On a carton, a central illustration may cross a fold awkwardly, or a key element may land in a glue area. On a label, the wrap seam and the available copy space can alter the balance of the design. Obtain the approved dieline or label template early, and preserve it as the reference file throughout the job.
A Practical Sequence: From Visual Variations to a Label or Box Layout
A reliable workflow separates concept generation from controlled layout. It gives teams room to experiment without placing unverified generative output in the final package file.
- Set the fixed inputs. Gather the package format, approved dieline, brand assets, product name, required copy, barcode source, and printer or converter instructions. Flag who owns legal and regulatory review.
- Generate visual directions. Create several concept routes around a clear creative brief. Use generated imagery, fill, expansion, or vector concepts to test visual hierarchy and art direction rather than to generate final small text or symbols.
- Choose and rebuild. Select the direction that serves the brief, then reconstruct it in the approved dieline. Place brand elements and controlled copy deliberately; do not rely on text embedded in a generated image.
- Check the structure. Review the flat layout against cut, fold, and glue areas, then use an appropriate 2D or 3D structural preview where available. Check what is seen from the shelf-facing panel and what happens at panel transitions.
- Prepare, proof, and release. Send the production artwork through the required prepress, compliance, and proofing steps before output preparation.
Consider a tea carton with a front-panel illustration and ingredient information on a side panel. AI may help the team compare a photographic botanical composition with a flatter engraved style. Once one route is selected, the designer fits the finished artwork to the actual panel geometry, keeps the product identity and required copy in controlled text fields, and checks that the illustration does not create an unintended break at folds. The concept may originate in AI; the carton layout does not end there.

Build Artwork for Trim, Bleed, Folds, and Print Color
The final layout needs to account for where the package is cut. Bleed extends artwork beyond the trim boundary, while trim marks identify where the printed sheet is cut. The exact bleed value is not a generic creative choice: follow the printer or converter’s specification, as Adobe’s Illustrator guidance notes.
For generated imagery, this often requires more than dropping an image into a template. A background intended to reach an edge must continue into the specified bleed. Critical visual details should not sit on a trim boundary or a fold. If a generated composition places the subject at the very edge, the designer may need to recompose, extend, or replace the image before production.
At handoff, color needs to be treated as a production condition rather than merely a screen choice. ISO 12647 establishes parameters and measurement methods for process control of proofs and production prints. It does not promise that any generated color will reproduce exactly as viewed on screen; it clarifies why the printer’s process, proofing, and color-management requirements need to accompany the work.
The production review should therefore inspect the actual layout at the intended scale and under the agreed proofing process. A concept that works in a large digital presentation can fail when its fine detail, contrast, or color relationships meet a physical package and a defined print condition.
Keep Barcodes and Mandatory Label Copy Outside the Generative Step
Do not ask a generator to create a barcode, then treat its result as a working symbol. Barcodes require controlled size, contrast, placement, and quiet zones. GS1 US warns against truncating barcodes and recommends high-resolution artwork and printing because a visually appealing package can still contain an unreadable symbol.
Reserve the barcode area in the layout from the start, then place the approved barcode artwork without altering it. Keep surrounding AI-generated texture, photography, and decorative marks out of the quiet zones. The review question is functional: can the symbol be produced and read as required, not whether it blends seamlessly into the creative treatment.
The same control applies to mandatory copy and product claims. In the United States, the Fair Packaging and Labeling Act addresses required disclosures and deceptive package descriptions, while FDA guidance covers food-label elements including product identity, net quantity, ingredients, allergens, and nutrition information. Requirements depend on the product and market, so the approved source information and the responsible reviewer must govern the final label.
AI can help explore a copy hierarchy or generate placeholder language for an internal concept, but it should not be the authority on what must appear or what a claim means. Put final copy into editable text, preserve version control, and route it through the relevant legal, regulatory, or category review before release.
Frequently Asked Questions
Can AI create a dieline?
A visual generator may suggest a package shape in a concept image, but a dieline is a precise structural definition of cut, fold, and glue relationships. Use approved structural packaging tools and the package supplier’s process to generate or validate the production dieline.
Can I send an AI-generated package image directly to a printer?
Not as the final production file. It must first be rebuilt or placed in the approved layout and pass structural, prepress, color, compliance, proofing, and output-preparation checks.
What file does a printer or converter need?
The required deliverable depends on the printer or converter’s specification. The production artwork needs to use the approved dieline and meet its instructions for bleed, trim, color, and output preparation; confirm the requested file format and release process directly with that partner.
How should I use AI without damaging a barcode?
Use AI around a reserved barcode zone, not to generate or modify the code itself. Place approved high-resolution barcode artwork afterward and protect its required dimensions, contrast, placement, and quiet zones.
Does AI-generated packaging copy meet labeling rules?
No automatic assurance follows from generated copy. Required disclosures and food-label elements can be regulated, so final wording and required information should come from approved sources and undergo the appropriate review for the product and market.