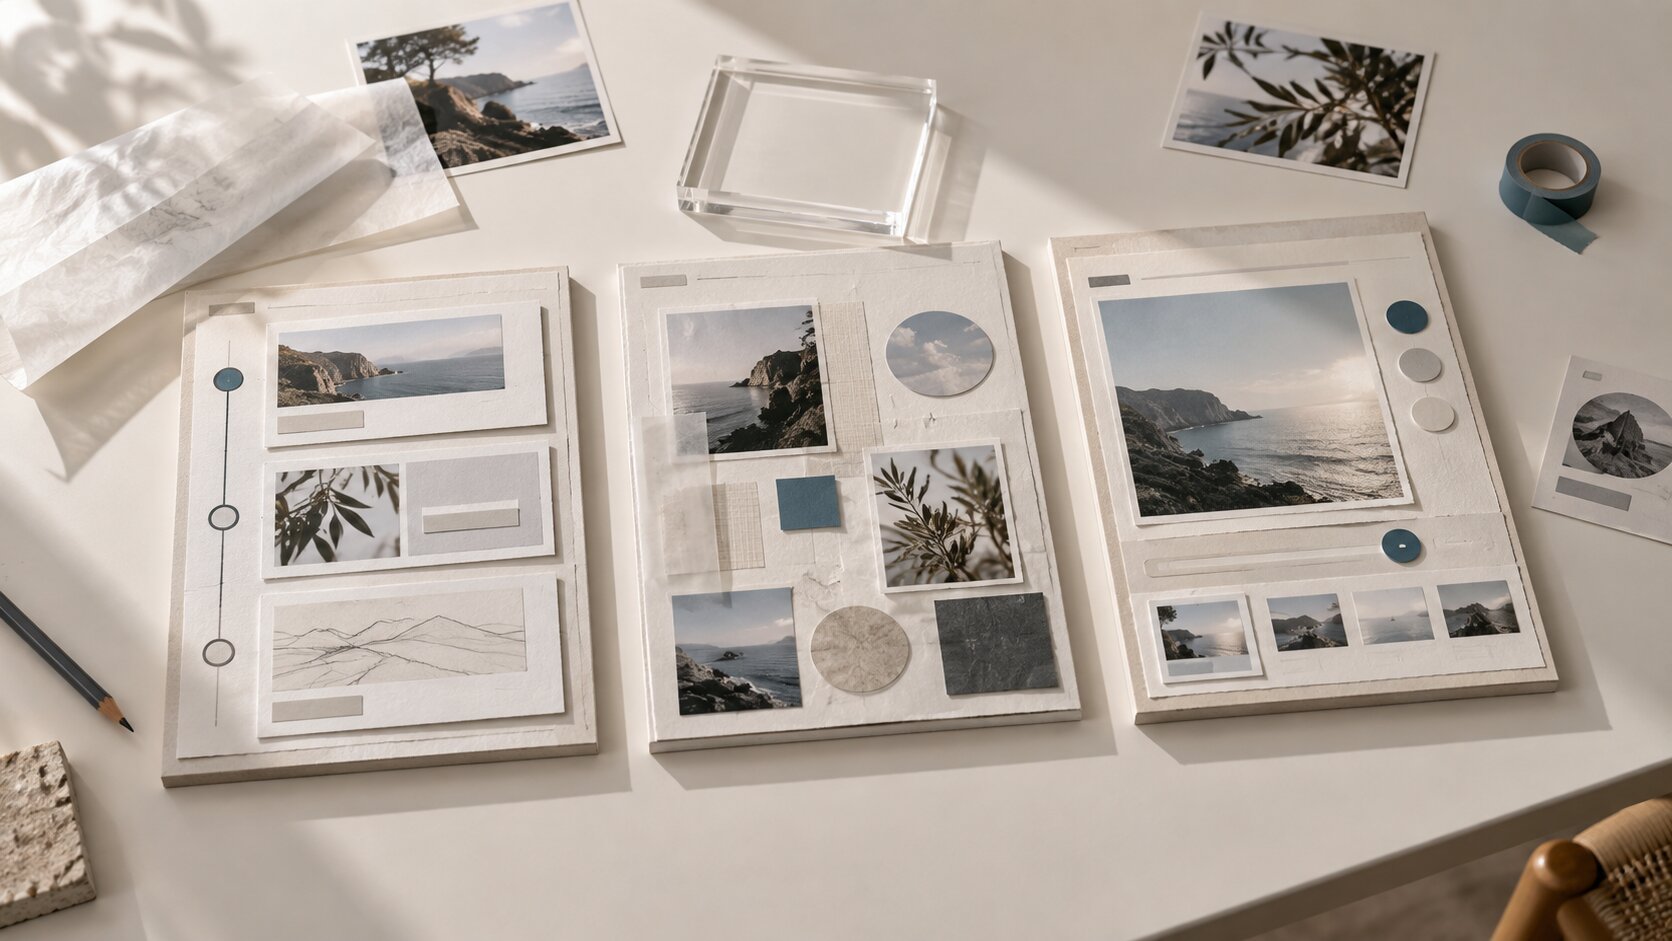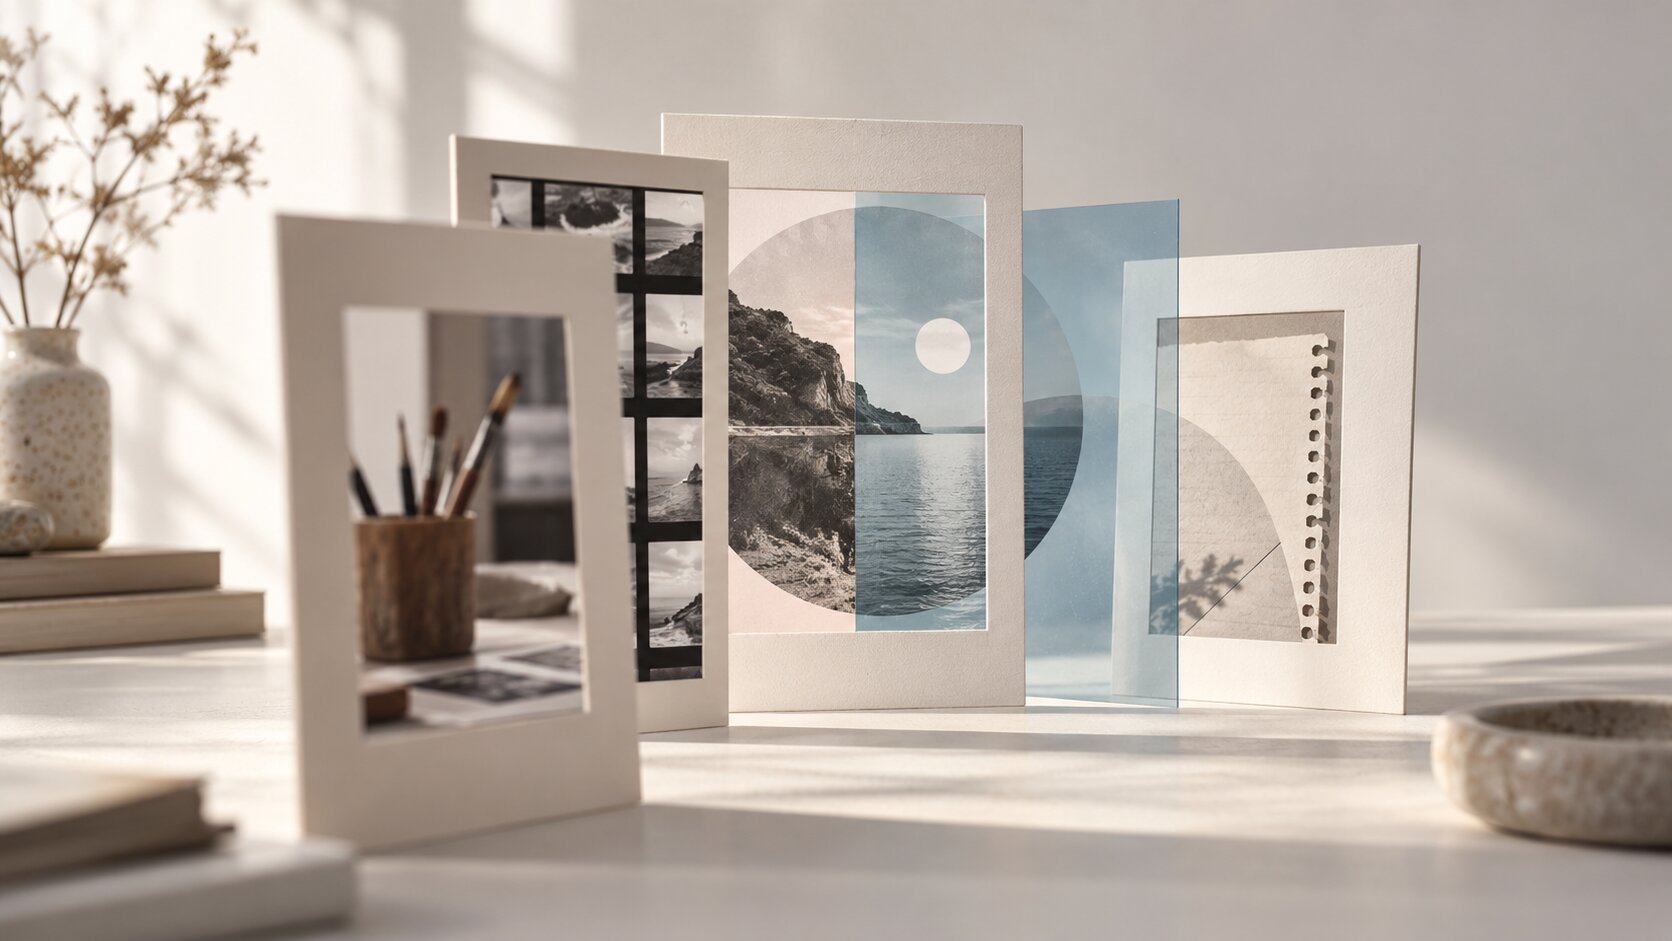
Process-Led Content: Turning Behind-the-Scenes Work into Strong Creative Assets
Turn behind-the-scenes work into stronger visuals, posts, release assets and campaign ideas with a practical process-led content workflow.

TL;DR:
- Process-led content means using the work behind the finished piece as part of the creative story.
- Instead of only posting the final artwork, song, video, product, or campaign, you turn drafts, references, decisions, mistakes, tests, and quiet studio moments into useful assets.
- The trick is not to publish every random step. It is to shape the process so it gives people context, curiosity, and a reason to care.
A lot of creators sit on more content than they realize.
Not finished content, maybe. Not clean, polished, “ready to post” content. But real material. Voice notes. Rough sketches. Rejected cover ideas. Messy studio clips. Reference boards. Lighting tests. Screenshots of a timeline. Notes from a shoot. A half-finished lyric. The moment before the final version finally clicked.
That stuff can feel too unfinished to share. But when it is handled well, it can become some of the strongest creative material you have.
Process-led content works because people do not only connect with outcomes. They connect with how something came to exist. For artists, musicians, creators, and visual storytellers, the process is often where the emotion lives. It shows taste. It shows choices. It shows the world around the work before the audience sees the final piece.
This guide breaks down how to turn behind-the-scenes work into strong creative assets, without making your process feel staged, awkward, or overly explained.
Table of Contents
- Key Takeaways
- The Hidden Value Inside Unfinished Work
- Choose the Part of the Process Worth Showing
- Turn Raw Behind-the-Scenes Material into Asset Types
- Use AI to Shape the Process, Not Replace It
- Build a Simple Process-Led Content System
- Keep the Work Honest While Making It Publish-Ready
- Where Orias AI Fits into a Process-Led Workflow
- Frequently Asked Questions
- Sources Used
Key Takeaways
| Point | Details |
|---|---|
| Your process is already content | Drafts, references, notes, tests, and rejected versions can become useful creative assets when they are framed clearly. |
| Do not post everything | Strong process-led content needs selection. Show the moments that reveal a decision, a mood, a problem, or a shift. |
| Behind-the-scenes work can support launches | Musicians and creators can use process clips, visual tests, and studio notes to build context before a release or campaign. |
| AI helps with structure and variation | Use AI to organize ideas, explore visual directions, make variants, and repurpose material, but keep human judgment in charge. |
| Platform fit still matters | A studio clip, release visual, Reel, Short, Canvas, and story post all need different formatting and review before publishing. |
| The best process content feels specific | Generic “making of” content is forgettable. Specific choices, constraints, and turning points make it interesting. |
The Hidden Value Inside Unfinished Work
Finished creative assets are usually clean. That is the point. They remove the mess.
But audiences often want the mess too, or at least a shaped version of it. They want to see the before. They want to understand what changed. They want the small detail that makes the finished thing feel more alive.
For a musician, that might be the first rough voice memo before the final track. For a visual artist, it might be the color palette that almost went in a completely different direction. For a filmmaker, it might be a lighting setup, a location problem, or a storyboard frame beside the final shot.
That material does a few useful things:
- It gives the final work more meaning.
- It creates smaller posts around one bigger release.
- It gives your audience a reason to follow before launch day.
- It shows taste, not just output.
- It helps you build a recognizable creative world over time.
That last part matters. Process-led content is not only about showing how hard you work. Nobody wants a diary of every task. It is about showing how your decisions create the world around your work.
There is also a practical reason this matters now. Platforms keep pushing creators toward frequent, native, short-form posting, but making every post from scratch can burn people out quickly. YouTube describes Shorts as a way to connect with new audiences using smartphone-first short-form video, now allowing Shorts up to three minutes long. TikTok’s own creative guidance points toward vertical 9:16 video, sound, clear visibility inside safe zones, and native-feeling production. Instagram has also built an in-app “Best Practices” hub for creators, covering creation, engagement, reach, monetization, and guidelines.
So yes, process-led content can help with consistency. But more importantly, it lets you create more without pretending to be a content machine.
Choose the Part of the Process Worth Showing
Not every behind-the-scenes moment deserves to become content.
That sounds obvious, but it is where a lot of creators get stuck. They either overshare everything, which feels messy, or they hide everything until the finished result, which makes the work feel distant.
A better approach is to look for moments with tension.
Not drama. Just tension.
A choice. A problem. A before-and-after. A question. A constraint. A version that almost worked. A detail that changed the meaning of the whole piece.
Look for the creative turn
The strongest process content often comes from a turn in the work.
For example:
- “We tried a colder visual world first, but it made the track feel too distant.”
- “This cover started with a completely different color palette.”
- “The first version looked clean, but it did not feel like the song.”
- “We removed the main object because the empty space felt more honest.”
- “This scene worked only after we changed the light.”
That kind of content is better than “here is me working,” because it gives the audience a reason to care. It shows a decision.
Separate private process from useful process
Some process should stay private. That does not make it less valuable. It just means it is not audience-facing.
Private process can include messy planning, unresolved personal notes, client feedback, licensing discussions, reference material you do not have rights to share, or early work that creates the wrong expectation.
Useful process is different. It gives context without exposing everything.
A good rule: share the process that helps people understand the work, not the process that makes you feel unprotected.
Make the unfinished feel intentional
Behind-the-scenes content can be raw, but it still needs shape.
A blurry studio clip might work if the sound, caption, or edit gives it meaning. A rough sketch can work if the audience understands what changed. A rejected version can work if you explain why it was rejected.
Raw does not mean random.
Turn Raw Behind-the-Scenes Material into Asset Types
Once you start seeing process as material, the next step is sorting it into usable asset types.
This keeps you from staring at a folder of random clips and thinking, “What am I supposed to do with this?”
Here are a few simple formats that work well for creators.
The decision post
This is built around one creative choice.
Example:
You show two visual directions for a release. One is bright and sharp. One is darker and softer. The post explains why the second one fit the song better.
This works because the audience gets to see taste in action. They are not just seeing a final image. They are seeing the thinking behind it.
Best for:
- Cover art reveals
- Campaign direction
- Brand identity changes
- Music video styling
- Photography edits
- Poster or thumbnail selection
Mistake to avoid: do not make it feel like a fake vote if the decision is already made. Audiences can tell when “which one should I choose?” is just engagement bait.
The before-and-after asset
This is one of the clearest ways to turn process into content.
You show the rough version beside the finished version. The rough version might be a sketch, demo, mood board, first AI generation, early layout, unedited photo, or raw shot.
The key is to highlight what improved.
Not just “before” and “after.”
Say what changed:
- The crop got tighter.
- The color became warmer.
- The subject moved off-center.
- The typography was removed.
- The scene became quieter.
- The prompt became more specific.
- The image stopped trying to explain too much.
This works especially well for visual storytellers because it teaches the audience how you see.
The process fragment
A process fragment is small. It does not explain everything.
It might be a three-second clip of paint mixing, a looping studio light, a close-up of a synth patch, a folder of rejected covers, or a camera test.
These are useful when you want to build mood around a larger project.
For musicians, Spotify describes Canvas as a 3-to-8-second looping visual in the Now Playing view, while Clips can be used for short vertical videos that show behind-the-scenes process or tease upcoming music. That is a good reminder: sometimes the process does not need a full explanation. It just needs to create atmosphere around the release.
The “why it changed” post
This one is more editorial.
You explain why a creative direction shifted.
Maybe the original visual concept felt too polished. Maybe the early track title did not match the emotion. Maybe the first campaign idea made sense on paper but did not feel right once you saw the images together.
This type of content is useful because it shows creative judgment. It also helps your audience feel closer to the work without needing a full tutorial.
The asset pack from one process moment
One strong process moment can become several assets.
A single studio session might become:
| Raw material | Possible asset |
|---|---|
| 10 seconds of studio footage | Reel, Short, TikTok, story clip |
| One still frame | Square post, thumbnail, teaser image |
| A quote from the session | Caption, text card, email subject |
| A rejected visual test | Before-and-after post |
| A final visual direction | Cover teaser, promo banner, campaign image |
| A short explanation | Newsletter note, release caption, website update |
This is where process-led content becomes a system instead of extra work.
You are not asking, “What should I post today?”
You are asking, “What did this process moment give me?”
Use AI to Shape the Process, Not Replace It
AI can be very useful in process-led content, but it has to be used in the right place.
The mistake is using AI to invent a fake process around finished work. That usually feels hollow. The better use is to help organize, extend, and refine the real process you already have.
Use AI to find the story inside your material
You can feed AI a rough description of your project and ask it to identify possible content angles.
For example:
“I am releasing a dark electronic single. The artwork started as a bright desert concept, then shifted into a cold blue glass world. The chorus lyric is about distance. Give me five process-led post angles.”
That can help you see what is already there:
- Why the visual world got colder
- What the rejected desert idea taught you
- How the chorus shaped the cover
- The difference between the first mood board and final art
- A short teaser caption about distance and reflection
AI is useful here because it helps with structure. But you still need to choose what feels true.
Use AI for visual exploration, then curate hard
AI tools can help generate options, test moods, explore lighting styles, and turn rough references into clearer directions. That is valuable, especially when you are still searching.
But do not confuse more options with better direction.
The more AI gives you, the more important your taste becomes.
Before anything becomes a final asset, check:
- Does this fit the actual work?
- Does it feel like me, or just like a nice image?
- Is the visual direction consistent across formats?
- Are there weird details that need fixing?
- Does this create the right expectation for the song, project, or campaign?
- Do I have the rights and permissions I need for every input and output?
Adobe’s Content Credentials guidance is a useful signal here. Adobe says Content Credentials can support attribution and generative AI transparency, including automatic application to content made with Adobe Firefly and its APIs. For creators, the broader point is simple: AI-assisted work should still be reviewed, labeled, and handled with care where needed.
Use AI to repurpose, not flatten
One process note can become a caption, a short script, a carousel outline, a release teaser, and a behind-the-scenes voiceover.
That is helpful.
But be careful. AI can smooth the life out of your words if you let it. Keep the strange details. Keep the specific phrasing. Keep the little human bits that sound like you.
Bad process caption:
“Exploring the creative journey behind my latest release.”
Better:
“The first cover looked too clean. Nice image, wrong feeling. We ended up making it darker, emptier, and a little more uncomfortable, which finally matched the song.”
That is the difference.
One sounds like a template. The other sounds like a person made a choice.
Build a Simple Process-Led Content System
You do not need a huge content calendar to make this work.
You need a capture habit, a sorting habit, and a publishing habit.
That is it.
Capture while you work
Do not wait until the end of the project and try to recreate the process. Capture small pieces while things are happening.
Useful things to save:
- First sketches
- Mood board screenshots
- Reference notes
- Voice memos
- Studio clips
- Lighting tests
- Prompt versions
- Rejected outputs
- Alternate crops
- Caption ideas
- Color tests
- Draft exports
- Final asset variations
Keep it simple. A folder per project is enough.
For music releases, this can be especially useful because release assets often need to exist in different places: cover art, artist images, short-form video, platform visuals, social posts, banners, and teaser clips. Apple Music, for example, gives clear specs for artist images and cover art, including a preferred artist image size of 2400 x 2400 pixels or greater, and cover art of at least 4000 x 4000 pixels.
Specs like that do not make the creative idea better by themselves. But they do remind you that strong work has to survive real publishing conditions.
Sort by content role
After the project starts taking shape, sort your process material into roles.
Use simple labels:
- Tease
- Explain
- Show
- Compare
- Announce
- Remind
- Recap
A rough sketch might be “Explain.”
A 3-second studio loop might be “Tease.”
A final asset grid might be “Announce.”
A rejected version might be “Compare.”
A fan reaction or post-launch insight might be “Recap.”
This makes the content easier to use because every asset has a job.
Build from one main idea
A process-led mini-campaign works best when everything points back to one main idea.
For example, if the release is about distance, do not make every post about random production details. Choose process material that supports distance visually, emotionally, or narratively.
That might include:
- Empty room references
- Cold lighting tests
- A lyric fragment
- A rejected warm cover
- A final blue-toned visual
- A behind-the-scenes clip of the vocal take
- A caption about removing details until the image felt lonely enough
Now the process supports the work.
It does not distract from it.
Make a light publishing rhythm
Here is a simple process-led rhythm for a release or campaign:
| Stage | Content idea |
|---|---|
| Early tease | Show a mood fragment, texture, or studio detail |
| Direction reveal | Share the visual idea behind the project |
| Process proof | Show a before-and-after or rejected version |
| Final asset | Publish the finished cover, poster, video still, or promo visual |
| Format expansion | Adapt the idea into Reels, Shorts, stories, banners, and thumbnails |
| Post-launch recap | Share what changed, what worked, or what you learned |
You do not need all of this every time. But having a rhythm stops you from posting only when you panic.
Keep the Work Honest While Making It Publish-Ready
The whole point of process-led content is that it feels close to the work.
So do not over-clean it.
At the same time, do not use “authentic” as an excuse to publish weak assets.
There is a middle ground.
Edit for clarity, not perfection
Cut the dead space. Fix the crop. Make the caption readable. Keep key visuals away from platform UI areas. Check the audio. Export properly.
TikTok’s creative best practices mention basics like 9:16 vertical orientation, sound or music, at least 720p resolution, and keeping important content visible within the safe zone. Instagram’s guidance around original content and recommendations also makes originality and platform fit worth paying attention to.
That does not mean every post needs to look expensive.
It means the viewer should understand what they are seeing.
Do not turn process into fake vulnerability
There is a difference between honest process and performed struggle.
You do not have to make every post emotional. You do not have to reveal your deepest insecurity just to make people care. Often, the more useful thing is simply showing a real creative problem and how you handled it.
For example:
- “The first edit was too fast, so the emotion did not land.”
- “The image was technically stronger, but the uglier version had more feeling.”
- “We tried text on the cover, then removed it because the silence worked better.”
That is enough.
Check rights, references, and platform rules
This matters a lot when AI and references are involved.
Before publishing process-led assets, check:
- Are you showing reference images you have permission to share?
- Are client or collaborator notes visible?
- Are private files or names in the background?
- Are you using licensed music correctly?
- Are AI-assisted visuals allowed in the context you are using them?
- Does sponsored or branded content need disclosure?
- Does the asset meet platform specs?
This is not the fun part. But it protects the work.
Keep consistency across the asset family
A process-led campaign can become messy if every post looks like it belongs to a different project.
You do not need everything identical. But you do need a few anchors:
- Same mood
- Similar color behavior
- Consistent type style, if using type
- Repeated textures or visual motifs
- Similar crop logic
- Same emotional tone
- Clear connection to the final work
Canva’s brand guidance and Figma’s design system resources both point toward the same basic idea: consistency becomes easier when people use shared standards, reusable elements, and clear visual rules instead of making every asset from scratch.
For independent creators, that can be very simple. A small visual rulebook is enough.
Something like:
- Use dark backgrounds.
- Keep subjects off-center.
- Avoid bright red.
- Use close crops.
- Keep text minimal.
- Make every asset feel quiet and tense.
That is a creative system. It does not need to be complicated.

Where Orias AI Fits into a Process-Led Workflow
Orias AI is useful when you have rough creative material but need to turn it into something clearer.
That might be a messy idea for a release, a few reference images, a mood, a half-formed visual direction, or a pile of behind-the-scenes notes. Instead of treating those pieces as separate scraps, you can use Orias AI to shape them into a more coherent creative world.
For process-led content, that means you can move from:
- rough idea to visual direction
- references to mood-led asset concepts
- studio notes to promo angles
- one release concept to multiple content formats
- unfinished creative thinking to publish-ready packs
The important part is still your judgment. Orias AI can help you explore, organize, and build variants faster, but the final call should come from your taste, your context, and the feeling of the work itself.
That is where process-led content becomes strong. Not because AI makes it effortless. Because your process finally has a shape people can understand.
Frequently Asked Questions
What is process-led content?
Process-led content is content built from the making of the work, not just the finished result. It can include sketches, drafts, studio clips, notes, references, rejected ideas, visual tests, and before-and-after changes. The goal is to show how the final piece came together in a way that adds meaning.
Why does behind-the-scenes content work for artists and creators?
It helps people feel closer to the work. A finished asset shows what you made, but behind-the-scenes content shows how you think. That can make a release, artwork, video, or campaign feel more personal and more memorable.
How can musicians use process-led content before a release?
Musicians can share studio fragments, lyric notes, cover art tests, visual mood boards, short vertical clips, Canvas-style loops, and explanations of how the sound shaped the visuals. The best approach is to connect every process post back to the mood of the song.
Can AI help create process-led content?
Yes, but it works best as a support tool. AI can help organize raw notes, suggest content angles, explore visual styles, create variants, and repurpose one idea into different formats. It should not replace the real creative decisions behind the work.
How do I avoid making process content feel boring?
Focus on moments of change. Show what shifted, what almost worked, what you removed, or why one version felt better than another. A small creative decision is usually more interesting than a generic “behind the scenes” clip.
Should I share rejected versions of my work?
Sometimes. Rejected versions can be useful if they help explain the final direction. Just avoid sharing anything that weakens the finished work, confuses the audience, exposes private feedback, or creates the wrong expectation.
What should I check before publishing AI-assisted creative assets?
Check visual quality, platform specs, rights, reference sources, disclosure needs, consistency with your creative direction, and whether the asset actually fits the project. AI output should still go through human review before publishing.