AI Image-to-Image: How to Transform Existing Visuals Without Starting Over
AI image-to-image transforms a supplied visual through controlled noise and prompt-guided denoising. Set strength, guidance, masks and spatial controls.
AI image-to-image is a diffusion editing process that begins with a supplied visual rather than a blank canvas. The system adds a controlled amount of noise to that image, then denoises it under text-prompt guidance to create a new version. The practical question is not simply what to prompt for; it is how far the result should be allowed to move away from the source. That decision is chiefly set by the amount of noise, commonly exposed as strength.
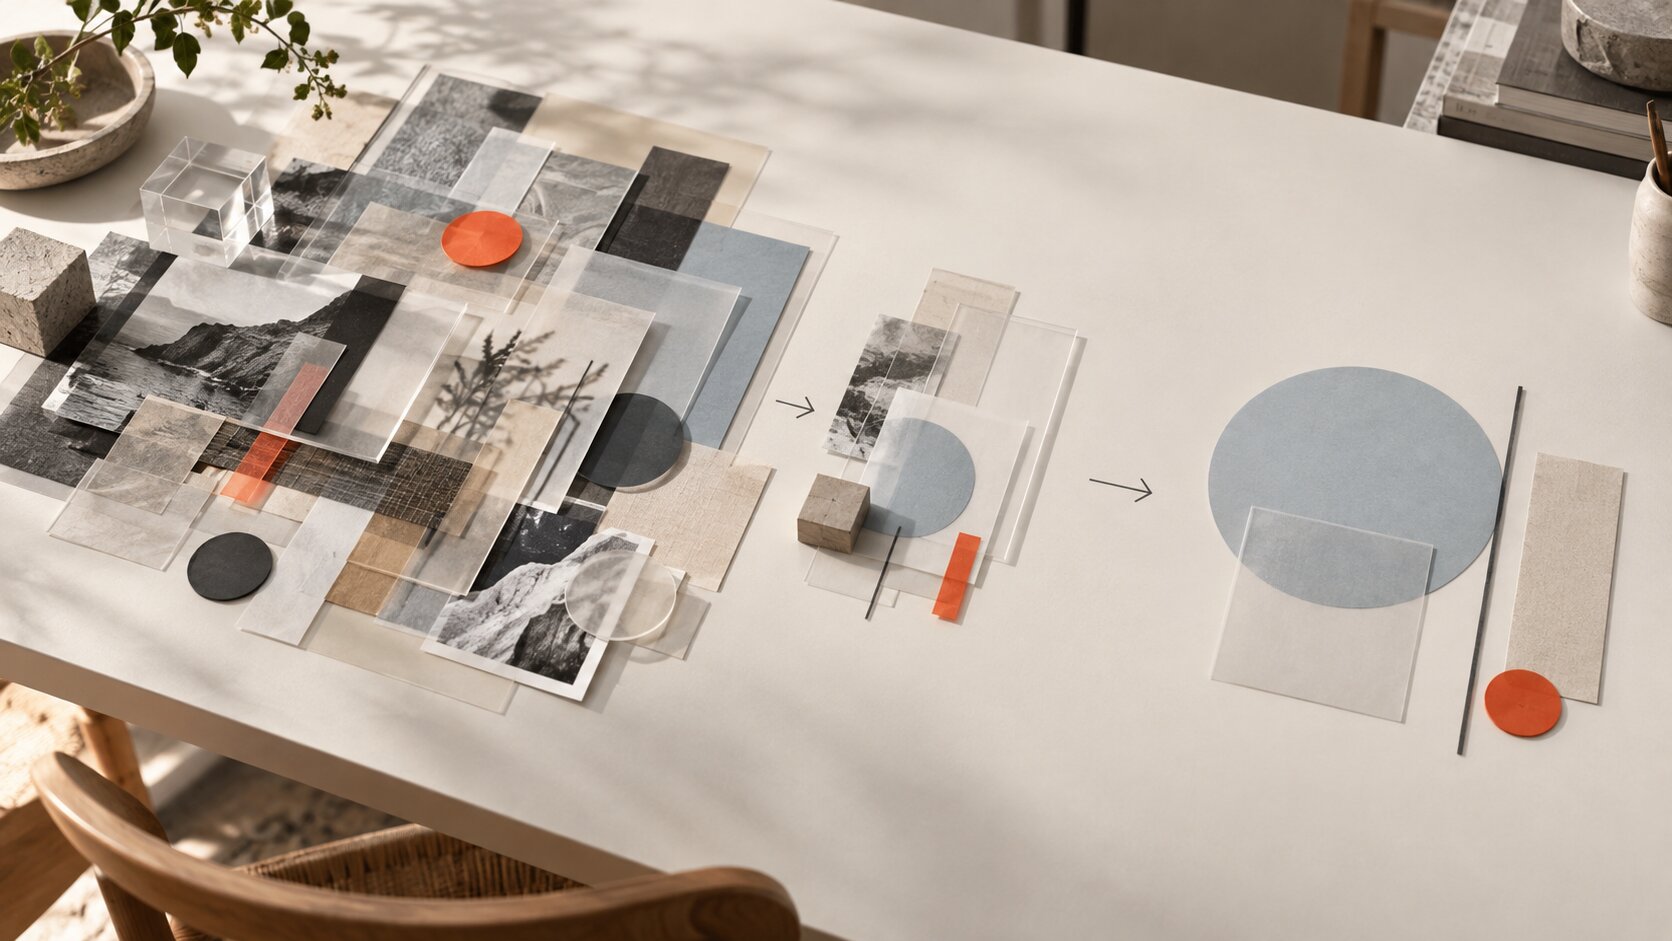
For a creative team, image-to-image is best treated as an art-direction control problem. Identify the visual decisions that must survive—a pose, layout, silhouette, lighting relationship, or a particular object—and choose the conditioning and editing scope that protect them. A prompt can describe the intended treatment, but it is not by itself a guarantee that the source composition, identity, lettering, or small details will remain intact.
What image-to-image changes—and what it keeps
In a standard image-to-image pass, the source image provides the starting visual information. It is partially corrupted with stochastic noise and iteratively reconstructed by a diffusion model, with the prompt steering the reconstruction. This general approach can preserve coarse structure while synthesizing new details, as described in the SDEdit paper.
That mechanism explains the useful middle ground between copying and generating from scratch. With restrained transformation, the result may retain the broad arrangement of a photograph while changing its treatment: for example, shifting a product image toward an illustrated campaign look. With more transformation, the system has more latitude to reinterpret the source. Hugging Face’s image-to-image documentation describes the process as adding controlled noise and denoising under prompt guidance; the noise amount determines how far the output can depart from the input.
“Keeps” should therefore be read as a tendency, not a layer lock. A full-image pass may preserve a composition at one setting and redraw small objects, facial features, or typography at the next. Before generating, state the preservation requirement in production terms: preserve the subject’s pose; preserve the packaging shape; preserve the horizon and camera angle; or preserve only the rough framing. Those are different jobs, and they call for different controls.
Strength and guidance set the source-versus-prompt balance
Strength controls the source image’s influence. Lower values preserve more of the original; higher values permit a larger transformation. In the Diffusers image-to-image API, a strength of 1.0 effectively ignores the input image, and strength also determines how many denoising steps are used. It is the first setting to adjust when a result either clings too closely to the source or wanders away from it.
Prompt guidance controls how closely generation follows the text instruction. Higher guidance generally increases adherence to the prompt, but it can reduce image quality. Low strength combined with low guidance favors similarity to the supplied visual, according to the Diffusers guide.
These controls work together, so changing both at once makes review harder. A sensible working method is to hold the prompt and guidance steady while testing a small range of strength values. Once the source-to-change balance is credible, adjust guidance only if the new treatment is not appearing clearly enough. If a request is highly specific—replace one garment, retain a person’s likeness, keep a label readable—raising strength or guidance is not a reliable substitute for a more targeted edit method.
Choose the control signal that protects the visual decision you cannot lose
A whole-image image-to-image pass is appropriate when the team can tolerate some reinterpretation of the composition. It is less appropriate when a layout is non-negotiable. If the key requirement is stable pose, depth relationship, contour, room geometry, or placement of elements, spatial conditioning provides a more direct constraint than hoping a low-strength pass will preserve it.
ControlNet adds spatial conditioning to pretrained text-to-image diffusion models. The conditioning can take the form of edges, depth, segmentation, human pose, line drawings, or scribbles, allowing appearance to change while composition or geometry is held more closely. The ControlNet research paper identifies those signals as ways to direct the output’s spatial structure.
Choose the signal by the decision at risk. A pose signal is useful when the body position must survive a fashion or character restyle. Edges or line art are useful when a product outline or editorial composition needs to stay recognizable. Depth is relevant when the foreground-background relationship is the asset worth retaining. Segmentation is useful when distinct regions need to remain organized as separate visual areas. The prompt then carries the appearance brief: medium, palette, material, atmosphere, era, and lighting treatment.
Use inpainting when the change belongs to one region
Inpainting is the better tool when the requested change occupies a bounded part of the image rather than the scene as a whole. It uses a mask to define the editing area: white areas are repainted according to the prompt, while black areas are preserved. This makes it suited to a wardrobe adjustment, a background replacement behind a subject, or a revision to one object without deliberately regenerating the entire frame.
Mask construction is part of the art direction. A hard mask boundary can produce a visible seam when the generated region must share texture, light, or color with its surroundings. Mask blur can help blend that boundary. Padding expands the working area around a small edit, which can give the system more context and improve detail in the altered region, as documented in Diffusers’ inpainting guide.
Do not make a mask so tight that the model has no room to reconcile the edited object with adjacent shadows, folds, reflections, or occlusion. Conversely, avoid a broad mask when the original material outside the requested change is approved and needs to remain stable. Review the edge of the mask at full size, not only the center of the new content.
A practical sequence: restyle a portrait without losing the pose
Consider a portrait whose seated pose and framing are approved, but whose visual treatment needs to shift from a photographic source into a stylized editorial concept. The team wants a new palette and surface treatment, while keeping the figure’s placement and overall gesture recognizable. This is not one instruction; it is a set of preservation and transformation decisions.
- Identify the protected structure. If the pose is essential, use an appropriate spatial control such as a human-pose signal. If the silhouette and framing matter more than body position, an edge or line-based signal may be the more relevant constraint.
- Run image-to-image at restrained strength first. The goal of this initial pass is to test whether the desired treatment can emerge without needlessly sacrificing the source’s composition.
- Write the prompt as an art-direction brief for the new treatment, rather than as a vague request to “make it better.” Specify the intended visual medium, palette, material cues, and lighting character.
- Inspect the result against the protected decisions: pose, crop, hands, facial features, key garment shapes, and background structure. If the treatment is too weak, increase transformation gradually rather than jumping immediately to a near-total redraw.
- Move isolated changes into inpainting. If only the jacket or the background needs another pass, mask that area instead of regenerating the portrait globally. Use blur or padding where the revised region must blend with the original surroundings.
This sequence separates three tasks that are often mistakenly combined: preserving structure, changing the overall treatment, and correcting a local region. It also creates clearer review handoffs. An art director can approve the pose and composition before a retoucher or operator spends iterations on clothing, texture, and edge blending.
Where image-to-image breaks down: identity, geometry, text, and fine detail
Image-to-image has competing objectives. A result may be faithful to the source yet fail to deliver the new prompt; it may follow the prompt more strongly while changing the source identity or geometry; or it may create a coherent new image while losing a small but essential detail. Research on real-image editing characterizes identity preservation, semantic coherence, and faithfulness to text as competing goals rather than a single setting that can always maximize all three.
That trade-off is especially visible in faces, repeated geometric elements, typography, and fine product details. Stronger denoising and prompt guidance can alter identity, geometry, text, or small features. Weaker settings can preserve the source but leave the requested change underdeveloped. The relevant quality-control question is not whether an output looks plausible at a glance; it is whether the protected visual decisions still hold at the intended publication size and in the crop that will actually be used.
For release work, build review points around the asset’s non-negotiables. Check readable text separately from general visual appeal. Check hands, faces, logos, package geometry, and any repeated architectural or product pattern at close range. If the brief requires a precise local alteration, use a mask; if it requires fixed spatial structure, use an appropriate control signal. A stronger full-image transformation expands creative latitude, but it does not turn a probabilistic reconstruction process into a precise editing tool.
Frequently Asked Questions
Does AI image-to-image copy the original image?
No. It starts from the supplied image, adds noise, and reconstructs a result under prompt guidance. Low transformation settings can retain more of the original visual structure, but the result is generated rather than a simple duplicate.
How should I choose image-to-image strength?
Start low when composition and recognizable source features matter, then raise strength incrementally only if the requested treatment is too subtle. At 1.0, the input is effectively ignored in the Diffusers implementation.
When should I use ControlNet instead of a basic image-to-image pass?
Use ControlNet when a spatial decision must remain stable: pose, edges, depth, segmentation, line work, or the broad layout. A standard image-to-image pass is more suitable when modest compositional drift is acceptable.
When is inpainting the right choice?
Use it for a local change, such as revising a garment or a contained background area. The mask specifies where generation occurs, allowing unmasked material to be preserved; blur and padding can help the revision blend into its surroundings.
Why do faces or text change during a restyle?
They are among the details that can be altered as transformation strength and prompt guidance increase. The system is balancing source fidelity, the text request, and overall visual coherence, so a global restyle should be reviewed closely wherever exact identity or legibility matters.