AI Image Upscaling: How to Prepare Generated Images for Web, Print and Campaign Use
AI image upscaling predicts pixels for larger files. Prepare controlled print masters, responsive web derivatives, and campaign-ready assets.
AI image upscaling increases an image’s pixel dimensions by predicting plausible detail from the pixels already available. It can make a generated image large enough for a particular placement, but it does not retrieve original information that was never captured or generated. Treat it as a controlled derivative-production step: decide where the image will appear, calculate what that placement requires, choose the enhancement approach, and inspect the result before export.
What AI Upscaling Actually Adds to a Generated Image
The technical term is single-image super-resolution. A model enlarges the pixel grid and predicts high-frequency detail—fine texture, edges, and tonal transitions—that may look credible at the new size. Perceptual super-resolution methods can create realistic-looking texture, but that same behavior can introduce artifacts or details unsupported by the source image, as the research behind ESRGAN makes clear.
That distinction matters especially for AI-generated imagery. A larger derivative can be visually effective in a poster, landing-page hero, or social crop while still changing small product features, lettering-like marks, fabric texture, jewelry, or facial details. “More pixels” is a delivery property. It is not proof that the scene now contains more verified visual information.
Keep the generated source untouched and name the upscale as a derivative. At review, open the source and the upscale side by side at 100% magnification. This is the most direct way to find a newly sharpened edge, repeating texture, altered contour, or defect that becomes easy to miss when the enlarged image is viewed only at fit-to-screen size.
Choose Restoration or Generative Enhancement Before You Scale
The central choice is preservation versus invention. Use restoration-focused upscaling when the supplied evidence must remain stable—particularly for approved product representation, brand-critical shapes, client references, or details already signed off. Generative enhancement may add plausible creative detail, so treat its result as a new creative output.
That distinction matters at review: inspect logos, package labels, recognizable product features, and approved likenesses before trusting the overall image. If one of those areas changes or shows an artifact, retain the source, switch to a restoration-focused method, or request a better original generation.
The available tools reflect these different goals. Adobe’s Generative Upscale provides 2× and 4× scales and model types with different enhancement behavior; its settings can change the result, not merely the dimensions. Adobe documents the feature here. For restoration of real-world images affected by blur, downsampling, and noise, Real-ESRGAN provides separate models for general images and anime or illustration content. Photographic and flat illustrated assets therefore should not automatically enter the same processing path.
Calculate Print Pixels From Final Trim Size and PPI
For print, start with the final physical dimensions, including any production instructions, rather than choosing an arbitrary upscale factor. Pixel dimensions and pixel density are separate values. Adobe recommends 300 PPI for high-quality printing unless the printer or production workflow specifies otherwise, and the required pixel dimensions follow from the intended size. The relevant guidance is in Adobe’s print-dimension documentation.
Use this calculation for each dimension:
required pixels = final size in inches × required PPICalculate the target from the placement: a 10 × 8 inch image area at 300 PPI requires 3,000 × 2,400 pixels. A generated source of 1,500 × 1,200 pixels reaches those dimensions at 2×. Change the placement, and the calculation changes with it—a 4× output may be needless for one layout and still inadequate for another.
Changing PPI metadata alone does not create pixels. It may alter the nominal print size attached to a file, but it does not supply the dimensions needed for a larger placement. Upscale only to the calculated need, then send the derivative into layout for an effective-resolution check.
Check AI Detail at Output Size, Not Just at 100%
A sound review has two different views. At 100%, compare the upscale with the original to identify invented texture and local defects. Then judge it at the real output condition: at the intended placed size in a print layout, or in the actual campaign placement and crop for digital work. A small artifact can be invisible at one viewing scale and distracting at another.
For print, check effective rather than merely embedded resolution after the image is placed. An asset enlarged to 200% in a layout has half its original effective PPI, according to Adobe’s InDesign printing guide. A file that appeared to meet a 300 PPI target before placement can therefore fall short once a designer scales it up.
- Inspect high-attention areas first: faces, hands, product edges, labels, typography-like forms, and clean graphic boundaries.
- Check the actual crop. A crop can make a previously minor artifact the focal point of a banner, ad, or cover.
- Confirm the placed dimensions with the layout or production owner before final approval.
- Keep approval tied to a named derivative and intended placement, not to a vague statement that the image is “high resolution.”
Build Responsive Web Derivatives From a High-Resolution Master
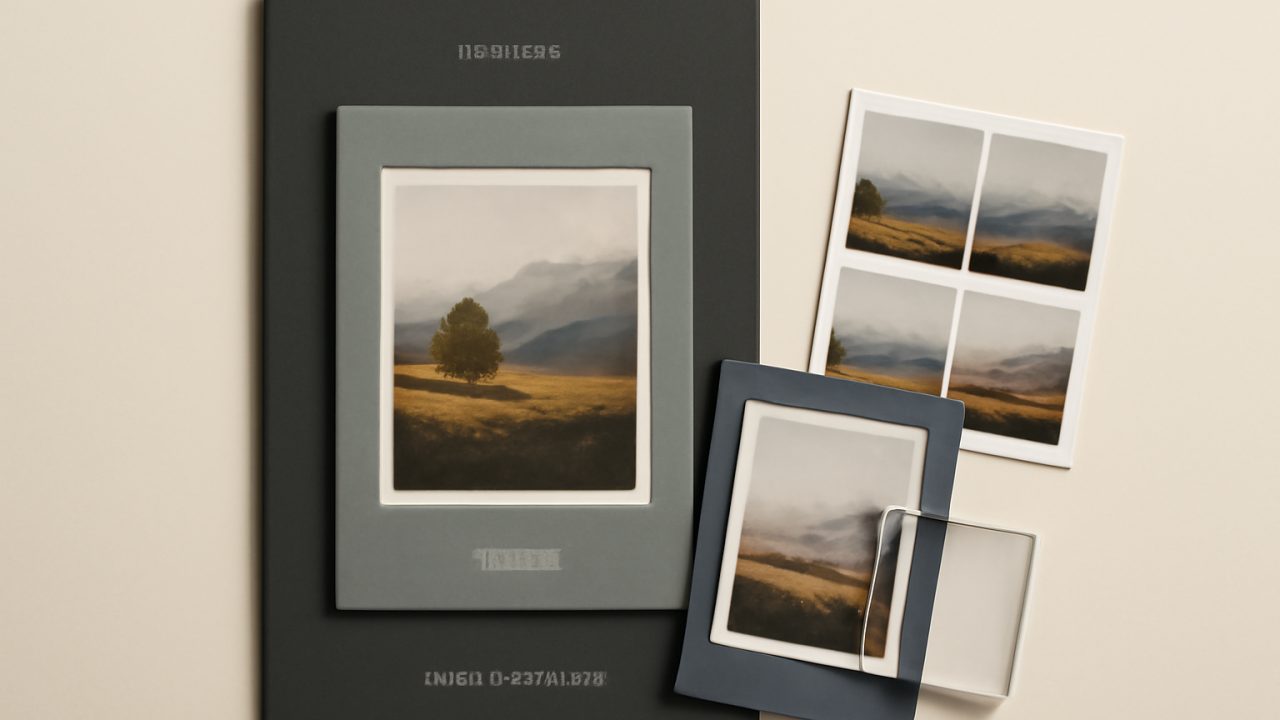
A print-ready master should not automatically become the website upload. Web publishing usually works better with a retained high-resolution master and several delivery derivatives sized for likely display widths. HTML srcset and sizes allow the browser to select an appropriate candidate based on viewport size and device pixel density, rather than making every visitor download one oversized file. MDN explains the selection model in its responsive images guide.
Build a web crop plan before exports. A wide desktop hero and a narrow mobile placement may need different crops to keep the subject legible; that is art direction, not simply resizing. The picture element can offer those alternate crops as well as alternate formats.
A production handoff should identify the master, each web derivative, crop intent, and fallback—not just attach a single large image. That fallback matters because, although AVIF and WebP can reduce delivery size, the implementation still needs to consider support. With picture, alternate sources can be supplied while an img provides the fallback, as documented by MDN’s picture reference.
A Product-Campaign Image: One Source, Separate Print and Web Outputs
Consider a generated product image approved for a 10 × 8 inch printed placement and a responsive campaign landing page. The team begins by preserving the approved source and identifying non-negotiable details: the product silhouette, visible branding, and the focal crop. For the print placement at 300 PPI, the needed image area is 3,000 × 2,400 pixels.
If the source is 1,500 × 1,200 pixels, a 2× output meets that calculated print requirement. The creative lead compares the derivative against the source at 100%, then the designer places it at final size and confirms its effective PPI. If enhancement has altered the product edge or introduced texture that conflicts with the approved appearance, the derivative is not ready simply because its pixel count is sufficient.
The web team then works from the approved master, not from the print layout export. It prepares the needed display sizes, makes an alternate mobile crop if the wide composition loses the product, and supplies responsive candidates through srcset and sizes. Where the build uses modern formats, it can provide AVIF or WebP alternatives through picture with an image fallback.
The result is one governed source and several purpose-built derivatives. That separation makes review more precise: print production approves the final placed asset, while web publishing validates crop, responsive selection, and fallback behavior.
Frequently Asked Questions
Does AI upscaling create real detail?
It creates predicted detail that can look plausible, not recovered original information. Inspect it against the source when accuracy of small visual features matters.
How much should I upscale an image?
Calculate the pixel dimensions required by the final placement, then use the smallest enlargement that reaches them. A larger file is not automatically a better asset.
Is 300 PPI always required for print?
No. Adobe recommends 300 PPI for high-quality printing unless the printer or production workflow gives a different specification. Follow the specification for the actual job.
Should a print master also be uploaded to the web?
Usually not. Retain it as a master, then export appropriately sized delivery files so the browser can select a suitable asset through responsive-image markup.
When is a generative upscale model appropriate?
Use it when creatively enhanced detail is acceptable and can be reviewed as a fresh output. For approved product details or other elements that must remain unchanged, start with preservation-oriented processing and verify the result closely.